Send HTML email with Attachment
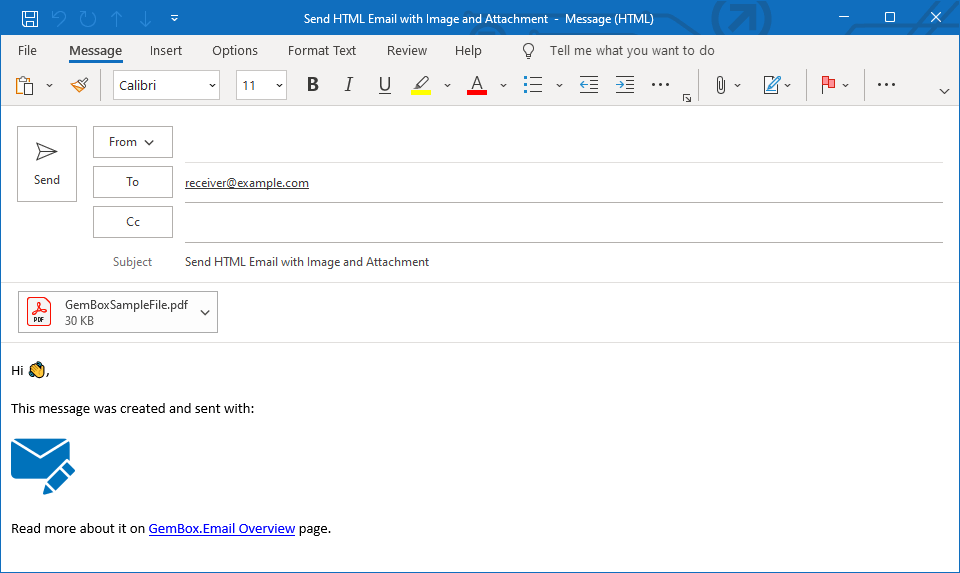
The following example shows how to send an email with a rich HTML body and file attachments by using GemBox.Email in C# or VB.NET code.
using GemBox.Email;
using GemBox.Email.Smtp;

class Program
{
    static void Main()
    {
        // If using the Professional version, put your serial key below.
        ComponentInfo.SetLicense("FREE-LIMITED-KEY");

        // Create new email message.
        MailMessage message = new MailMessage("sender@example.com", "receiver@example.com");

        // Add subject.
        message.Subject = "Send HTML Email with Image and Attachment";

        // Add HTML body with CID embedded image.
        string cid = "image001@gembox.com";
        message.BodyHtml = "<html><body>" +
            "<p>Hi 👋,</p>" +
            "<p>This message was created and sent with:</p>" +
            "<p><img src='cid:" + cid + "'/></p>" +
            "<p>Read more about it on <a href='https://www.gemboxsoftware.com/email'>GemBox.Email Overview</a> page.</p>" +
            "</body></html>";

        // Add image as inline attachment.
        message.Attachments.AddInline(new Attachment("%#GemBoxEmailLogo.png%") { ContentId = cid });

        // Add file as attachment.
        message.Attachments.Add(new Attachment("%#GemBoxSampleFile.pdf%"));

        // Create new SMTP client and send an email message.
        using (SmtpClient smtp = new SmtpClient("<ADDRESS> (e.g. smtp.gmail.com)"))
        {
            smtp.Connect();
            smtp.Authenticate("<USERNAME>", "<PASSWORD>");
            smtp.SendMessage(message);
        }
    }
}
Imports GemBox.Email
Imports GemBox.Email.Smtp

Module Program

    Sub Main()

        ' If using the Professional version, put your serial key below.
        ComponentInfo.SetLicense("FREE-LIMITED-KEY")

        ' Create new email message.
        Dim message As New MailMessage("sender@example.com", "receiver@example.com")

        ' Add subject.
        message.Subject = "Send HTML Email with Image and Attachment"

        ' Add HTML body with CID embedded image.
        Dim cid As String = "image001@gembox.com"
        message.BodyHtml = "<html><body>" &
            "<p>Hi 👋,</p>" &
            "<p>This message was created and sent with:</p>" &
            "<p><img src='cid:" & cid & "'/></p>" &
            "<p>Read more about it on <a href='https://www.gemboxsoftware.com/email'>GemBox.Email Overview</a> page.</p>" &
            "</body></html>"

        ' Add image as inline attachment.
        message.Attachments.AddInline(New Attachment("%#GemBoxEmailLogo.png%") With {.ContentId = cid})

        ' Add file as attachment.
        message.Attachments.Add(New Attachment("%#GemBoxSampleFile.pdf%"))

        ' Create new SMTP client and send an email message.
        Using smtp As New SmtpClient("<ADDRESS> (e.g. smtp.gmail.com)")
            smtp.Connect()
            smtp.Authenticate("<USERNAME>", "<PASSWORD>")
            smtp.SendMessage(message)
        End Using

    End Sub
End Module

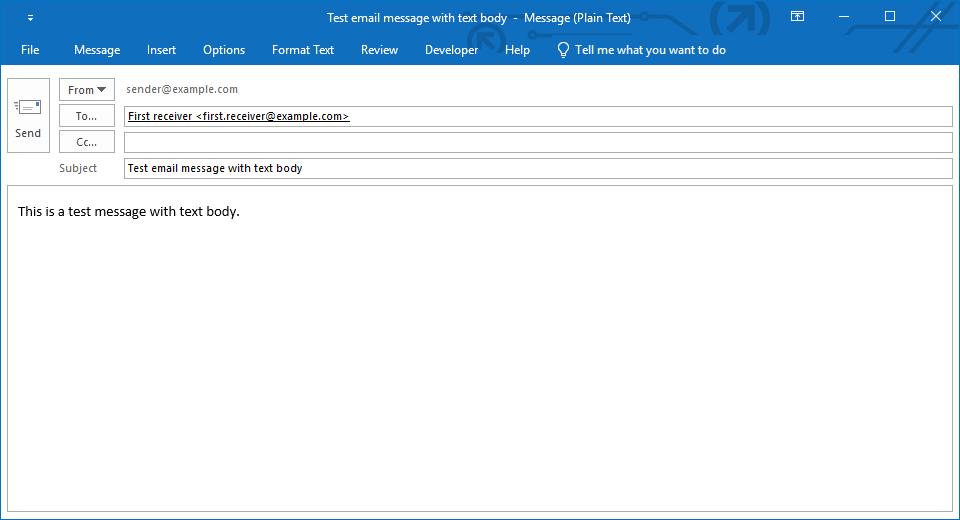
The MailMessage class provides two properties for message text: plain text via MailMessage.BodyText property and rich formatted text via MailMessage.BodyHtml property.
If you specify both body types, the receiver's email client will decide which body will be displayed based on the client's settings. In general, most clients prefer the HTML body version if it exists in the message. Still, it's very common to specify both body types so that the receiver can read the message (in plain text) in case the email client doesn't accept or support HTML messages.
GemBox.Email will not validate the HTML that you specify in the MailMessage.BodyHtml property. It will be stored as a String value. However, some email clients may experience difficulties showing irregular HTML content, so you should consider checking your message's HTML markup.
To add extra content or files that you want to send along with your message, create a new Attachment object and add it to the MailMessage.Attachments collection. If the Attachment.ContentId property is specified on some Attachment object, , then it will be treated as an inline attachment; otherwise, it will be a regular attachment.
To send an HTML message with images, you can use one of the following options:
- Create an image with a source that is linked to an external image file, e.g.
<img src="https://www.example.com/image.png" />. - Create an image with a source that contains data URI, an image data embedded directly into HTML, e.g.
<img src="data:image/png;base64,AABBCCDD..." />. - Create an image with a source that contains content ID (CID) and add the image as an inline attachment with the same CID, as shown in the above example.

