Upload an Email Message with Microsoft Graph
The following example shows how to use the GemBox.Email component to connect to the Microsoft 365 (Office 365) Server and upload an email message from a console application, using C# or VB.NET code.
using GemBox.Email;
using GemBox.Email.Imap;
class Program
{
static void Main()
{
// If using the Professional version, put your serial key below.
ComponentInfo.SetLicense("FREE-LIMITED-KEY");
// Create new email message.
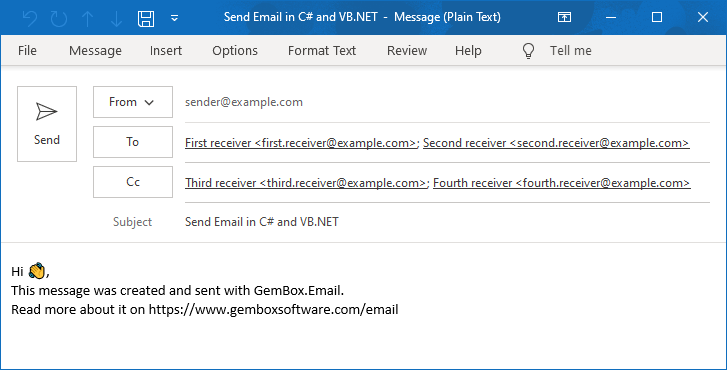
MailMessage message = new MailMessage(
new MailAddress("sender@example.com", "Sender"),
new MailAddress("first.receiver@example.com", "First receiver"),
new MailAddress("second.receiver@example.com", "Second receiver"));
// Add additional receivers.
message.Cc.Add(
new MailAddress("third.receiver@example.com", "Third receiver"),
new MailAddress("fourth.receiver@example.com", "Fourth receiver"));
// Add subject and body.
message.Subject = "Upload Email in C# / VB.NET / ASP.NET";
message.BodyText = "Hi 👋,\n" +
"This message was created and uploaded with GemBox.Email.\n" +
"Read more about it on https://www.gemboxsoftware.com/email";
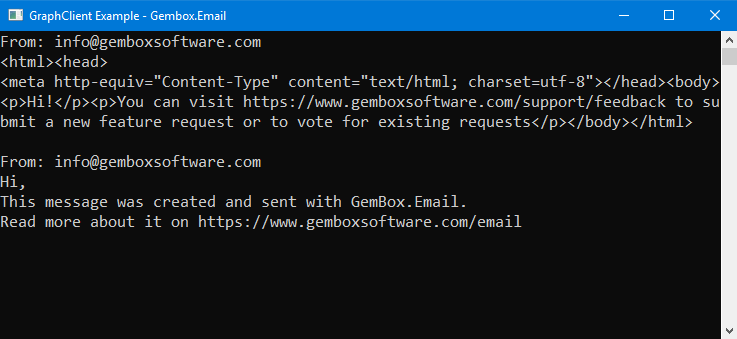
// Create a new Graph client and upload an email message to the Inbox folder.
var graphClient = new GraphClient();
graphClient.Authenticate("<OAUTH2.0-TOKEN>");
graphClient.ImpersonateUser("<USER-ID-OR-EMAIL>");
graphClient.UploadMessage(message, "Inbox");
}
}
Imports GemBox.Email
Imports GemBox.Email.Imap

Module Program

    Sub Main()

        ' If using the Professional version, put your serial key below.
        ComponentInfo.SetLicense("FREE-LIMITED-KEY")

        ' Create new email message.
        Dim message As New MailMessage(
                New MailAddress("sender@example.com", "Sender"),
                New MailAddress("first.receiver@example.com", "First receiver"),
                New MailAddress("second.receiver@example.com", "Second receiver"))

        ' Add additional receivers.
        message.Cc.Add(
                New MailAddress("third.receiver@example.com", "Third receiver"),
                New MailAddress("fourth.receiver@example.com", "Fourth receiver"))

        ' Add subject and body.
        message.Subject = "Upload Email in C# / VB.NET / ASP.NET"
        message.BodyText = "Hi 👋," & vbLf &
                "This message was created and uploaded with GemBox.Email." & vbLf &
                "Read more about it on https://www.gemboxsoftware.com/email"

        ' Create a new Graph client and upload an email message to the Inbox folder.
        Dim graphClient = New GraphClient()
        graphClient.Authenticate("<OAUTH2.0-TOKEN>")
        graphClient.ImpersonateUser("<USER-ID-OR-EMAIL>")
        graphClient.UploadMessage(message, "Inbox")
    End Sub
End Module

You can use either GraphClient.UploadMessage or GraphClient.UploadMessageByFolderId methods to save the email message in the desired folder. Note that this method will not send the email message to its recipients. If you are looking for that, check out our sending example.