How to digitally sign a PDF with GemBox.PdfViewer
GemBox.PdfViewer supports digital signing, enabling you to enhance the security and authenticity of your PDF documents. This step-by-step guide shows how you can easily enable and configure digital signing in GemBox.PdfViewer using a backend service.

Digital signature vs electronic signature
A digital signature is a cryptographic mechanism used to validate the authenticity, integrity, and non-repudiation of a digital document. Unlike an electronic signature (eSignature or eSign), which is often a simple image or typed name, a digital signature relies on public key infrastructure (PKI) to create a unique, verifiable seal. This ensures that the document has not been altered since it was signed and confirms the signer's identity with high assurance.
The workflow
Digital signing in GemBox.PdfViewer is implemented via a backend web service that uses GemBox.Pdf to create a digital signature and apply it to the document. The whole process can be summarized in the following steps:
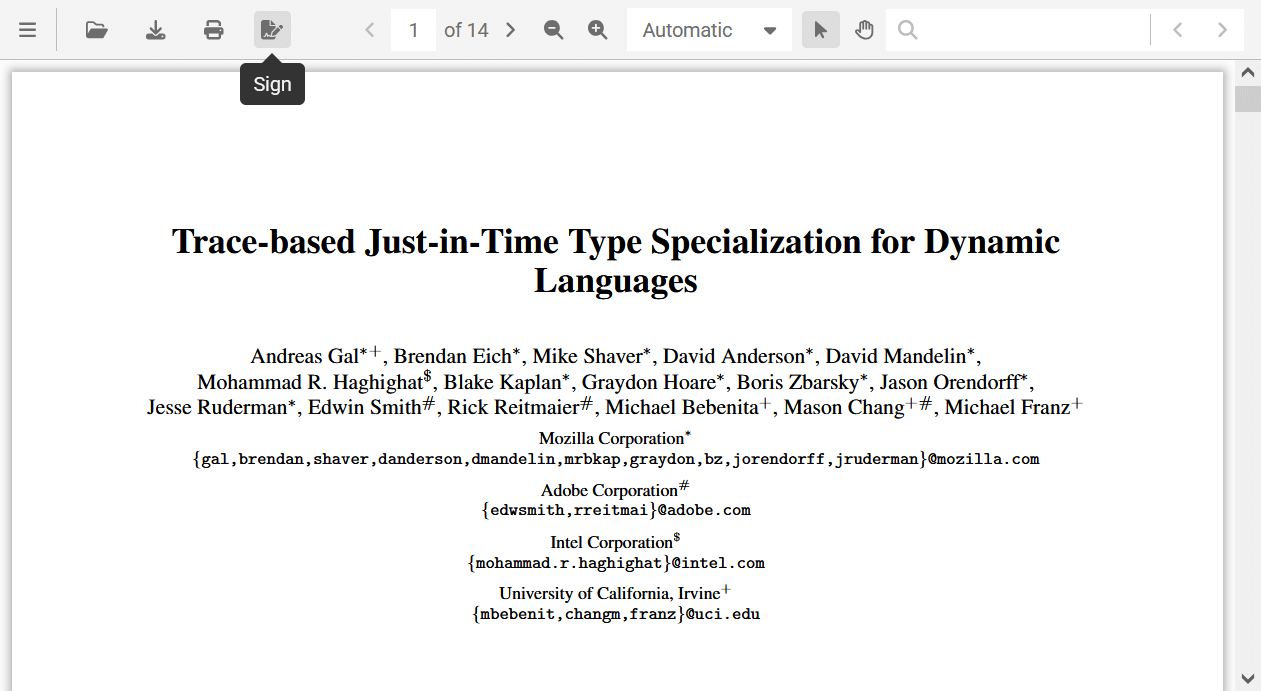
- The user clicks the "Sign" button on the viewer.
- The PDF file is sent to the backend web service for signing.
- The web service signs the PDF file and returns it.
- The viewer updates to display the signed document to the user.
The integration between GemBox.PdfViewer and the web service is built-in. All you need to do is to deploy the backend web service using the provided Docker image or a Terraform template, and specify the URL of the running container in the GemBox.PdfViewer configuration.
Configuring the web service
The GemBox.PdfViewer digital signing web service is provided as a Docker image on Docker Hub which makes deploying and running the web service very simple.
The service image can be downloaded and used for free, but with limitations. To remove the limitations, you need to purchase a GemBox.Pdf or a GemBox.Bundle license and replace "FREE-LIMITED-KEY" with your serial key.
In this section, we will explain how to pull, configure, and run the Docker image locally. You can customize this example to suit your requirements and deploy the image on your preferred platform or provider. As an alternative, in the following section you can find a Terraform template for deploying the service to Azure.
To set up the signing service using Docker, follow these steps:
Retrieve the latest version of the signing service image from Docker Hub
docker pull gembox/signing-service:latestRun the Docker container with the default configuration
docker run -p 8000:80 -e HTTP_PORTS=80^
   -e GEMBOX_PDF_LICENSE_KEY="FREE-LIMITED-KEY"^
   gembox/signing-service
Verify that the service is running correctly:
curl http://localhost:8000/sign/ping
This will start the service with the default configuration:
- The service will use a GemBox-issued certificate for signing.
- Only the HTTP scheme is supported.
- No request authentication is included.
- CORS is not set, which means that only requests from the same domain are accepted.
In order to customize these configuration options, you need to provide additional environment variables as described below.
Custom signing certificate
To use a custom certificate for digital signing, you need to do the following:
- Ensure that the certificate file is stored in a designated folder.
- Mount the folder containing the certificate as a Docker volume.
- Set the appropriate environment variables to specify the certificate's file path and password.
For example, if you have a certificate file named signing.pfx stored in a certificates folder, you need to include the following parameters in your docker run command:
-v .\certificates:/certificates/^
-e SIGNING_CERTIFICATE_PATH="/certificates/signing.pfx"^
-e SIGNING_CERTIFICATE_PASSWORD="<password>"
HTTPS
To enable HTTPS, you need to:
- Ensure that the certificate file is stored in a designated folder.
- Mount the folder containing the certificate as a Docker volume.
- Set the appropriate environment variables to specify the certificate's file path and password.
- Specify a port mapping.
For example, if you have a certificate file named https.pfx stored in a certificates folder, you need to include the following parameters in your docker run command:
-p 8001:443^
-v .\certificates:/certificates/^
-e HTTPS_CERTIFICATE_PATH="/certificates/https.pfx"^
-e HTTPS_CERTIFICATE_PASSWORD="<password>"
Request authentication
You can secure the service by requesting an API password for authenticating incoming requests. The password is provided via the API_PASSWORD environment variable.
-e API_PASSWORD="<password>"CORS
In order to allow additional domains to be served by the service (CORS), you need to provide them via the ALLOW_ORIGINS environment variable. For example, to allow the domain "https://www.example.com", include the following variable in your docker run command:
-e ALLOW_ORIGINS="https://www.example.com"For example, a docker run command with all configuration options described above would be as follows:
docker run -p 8000:80 -p 8001:443^
   -e HTTPS_PORTS=443^
   -e HTTP_PORTS=80^
   -v .\certificates:/certificates/^
   -e HTTPS_CERTIFICATE_PATH="/certificates/https.pfx"^
   -e HTTPS_CERTIFICATE_PASSWORD="password"^
   -e SIGNING_CERTIFICATE_PATH="/certificates/signing.pfx"^
   -e SIGNING_CERTIFICATE_PASSWORD="password"^
   -e GEMBOX_PDF_LICENSE_KEY="FREE-LIMITED-KEY"^
   -e API_PASSWORD="password"^
   -e ALLOW_ORIGINS="https://www.example.com"^
   gembox/signing-service
Terraform Azure template
As an alternative to manual web service configuration, we provide a Terraform template for configuring and deploying to Azure. With this configuration, the Docker image will run as a Container Instance, and the certificates used for signing will be securely stored in the Azure Key Vault.
Clone the GitHub repository containing the Terraform template:
git clone https://github.com/GemBoxLtd/GemBox.PdfViewer.DigitalSignatureCustomize the deployment by modifying the variables.tf file. Be sure to update the gembox_pdf_license_key variable with your GemBox.Pdf license key if you have it.
variable "gembox_pdf_license_key" {
  type        = string
  description = "The license key for GemBox.Pdf."
  default     = "FREE-LIMITED-KEY"
}
Initialize Terraform:
terraform init -upgradeCreate a Terraform execution plan.
terraform plan -out main.tfplanApply the Terraform execution plan to deploy resources
terraform apply main.tfplan
Once the deployment is complete, the domain and IP address of the running service will be displayed. You can verify if the service is running correctly by executing the following command:
curl http://<DOMAIN>/sign/pingConfiguring GemBox.PdfViewer
The last step is to enable digital signing in GemBox.PdfViewer. All you have to do is specify the URL of the deployed signing service during the GemBox.PdfViewer initialization. You can also specify if the PDF file should download automatically after signing.
await GemBoxPdfViewer.create({
	container: "#app",
	digitalSigning: {
		serverUrl: "http://localhost:8000/",
		autoDownload: true
	},
});
You can test the signing process in this interactive demo by clicking the sign button ( ).
If you have enabled request authentication on your digital signing web service instance, the user will be prompted to enter the password when they click on the "Sign" button. To prevent this, you can provide the password programmatically during the viewer's initialization:
await GemBoxPdfViewer.create({
	container: "#app",
	digitalSigning: {
		serverUrl: "http://localhost:8000/",
		apiPassword: "<password>",
		autoDownload: true
	},
});